Import Scans
To import scans via Wi-Fi to your computer:


- Turn on Doxie. Press and hold the power button for a moment.
- Enable Wi-Fi. Turn on Wi-Fi by pushing the Wi-Fi button on the back, the wait for the light to turn solid blue.
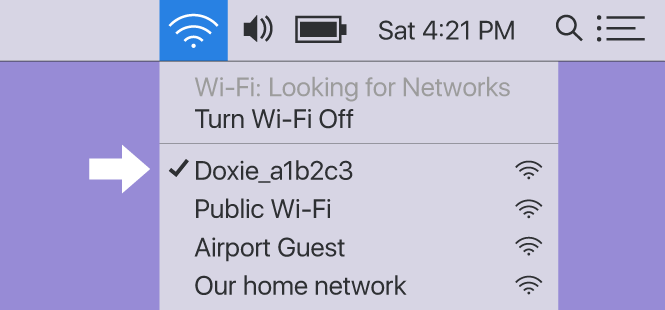
- ... then join Doxie's network. Join Doxie's direct network from the Wi-Fi menu on your computer's menu bar or task bar. If you've configured Doxie to connect to your local Wi-Fi network, join that network instead – you want to be on the same network as your Doxie.
- Click the Import button (top right) to start importing scans.
If you've joined Doxie's network (versus a home or office network) and you were on another network previously, re-join that network when you're done with Doxie to get back online.
Once scans are imported from your Doxie, you can proceed to organize, staple, and save your scans. You can also just leave them in the Doxie app, until you're ready to do something more with them.
To import scans via Wi-Fi to your iPhone or iPad:
- Join the same network your Doxie is connected to.
- Open the Doxie app and tap the + button at the top left.
- Select your scanner, then tap Import All.