Calibrating Doxie
When to calibrate Doxie
Calibrate Doxie if:
- The scanned image looks fuzzy
- The color of the scanned image looks darker than usual
- You have not used Doxie in a while
- You have just finished an advanced "wet" cleaning cycle
Doxie comes pre-calibrated out of the box, but calibrating it again after you've used it for a while helps restore the color and sharpness of the scanned images.
How to calibrate Doxie
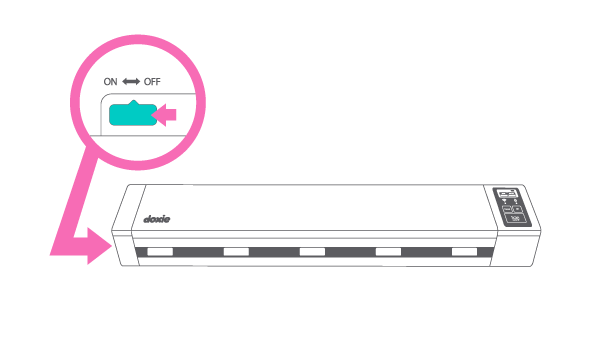
- Turn Doxie off, then back on again using the switch on the left side.
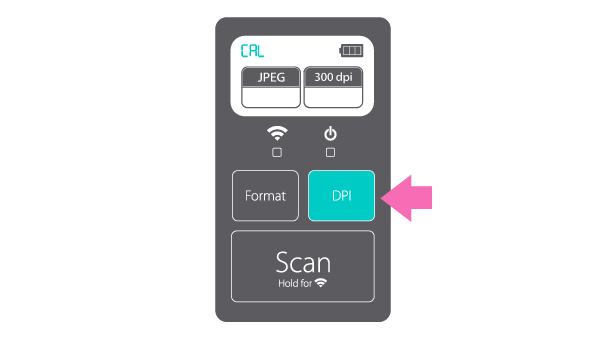
- Hold down the DPI button for a few seconds until you see CAL appear on the LCD screen.
- Open Doxie's top cover and insert the included calibration sheet into the Automatic Document Feeder -- white part first. Doxie will grab the calibration sheet automatically. Lost the calibration sheet?
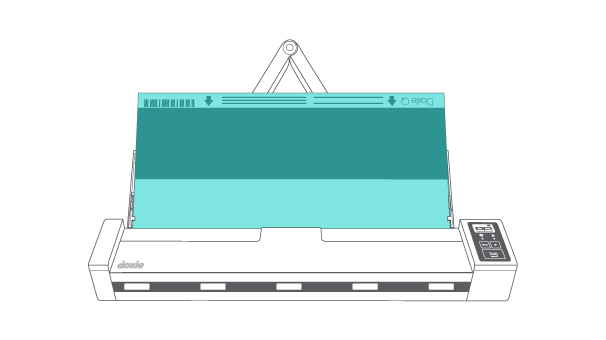
- Doxie turns off when calibration is complete. Turn Doxie back on to keep scanning.
If you see an "E19" error on the LCD screen and the power LED blinks red, something went wrong. Try calibrating again. Open the interior cover and remove the calibration sheet. Turn Doxie off, then back on again. If you're still having trouble, contact Doxie Customer Care for assistance.
Need a hand?
We're here to help! Check out the FAQs, contact us for help, or have us call you for personal assistance.