Set Up Doxie Go SE
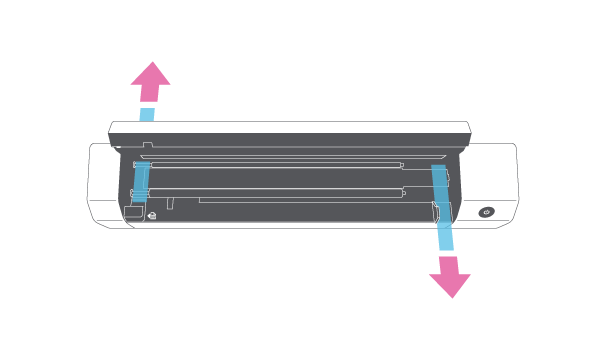
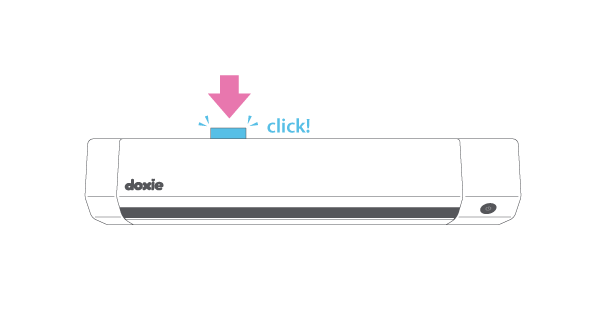
- Unpack Doxie. Remove outer protective wrap. Flip open Doxie's cover, remove protective strips, and then close the cover.

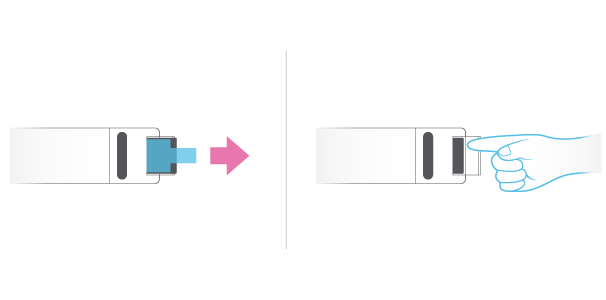
- Insert Doxie's included SD memory card.

- Activate Doxie's battery. Turn Doxie over, open the battery door, pull the tab, and remove plastic. Push the battery back in and close the door.

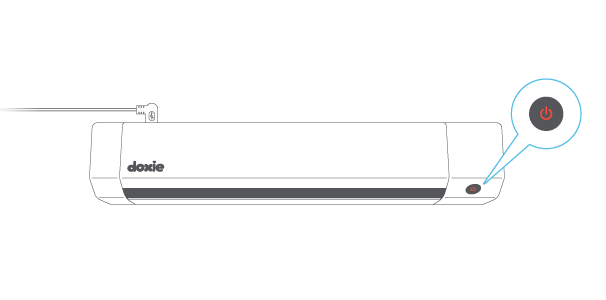
Note: If there's no battery tab, open the battery door – if there's no battery inside, your battery is packed separately in the box. Insert the battery, making sure the plus and minus symbols are aligned. - Charge Doxie. Connect Doxie to your computer, a powered USB hub, or a USB charger to begin charging.

When Doxie is connected to USB power and turned off, its light turns red. The light turns off when Doxie is fully charged.
Note: If this is the first time you're charging your Doxie Go SE, allow it to charge for at least an hour before attempting to turn your scanner on.
That's it! Now you're ready to scan. Next, learn more about scanning...