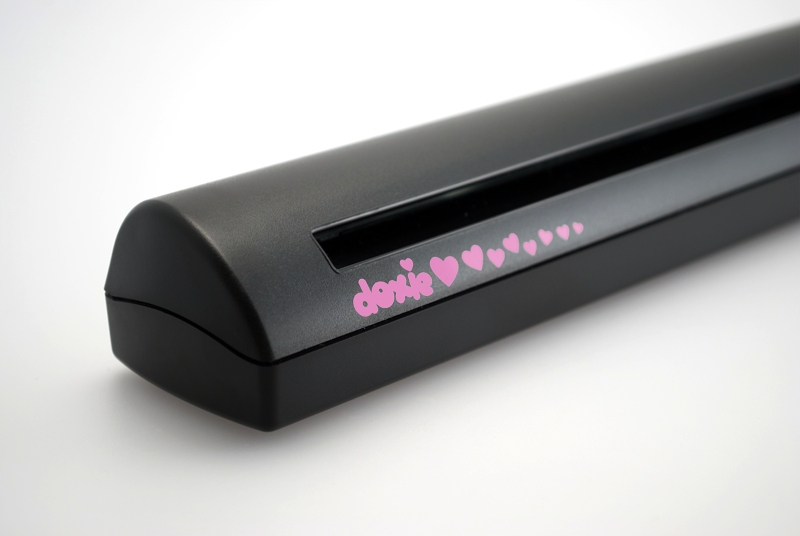
Cleaning Doxie
If your scans automatically show lines, black dots, or other quality issues, it’s time to clean Doxie.
Basic Cleaning
- Select Doxie > Clean Doxie from the menu bar.
- Insert Doxie's included cleaning sheet. It's a thin white sheet that feels like foam.
- Push Doxie’s heart button to start automatic cleaning.
- After cleaning, recalibrate Doxie.

This should do the trick. If it doesn't, try one of the advanced methods below. Only do an advanced cleaning if a regular cleaning cycle does not work.
Advanced Cleaning
Running a regular cleaning cycle will typically dislodge any dust or dirt, but if you're still seeing dirt in your scans, try this more advanced cleaning method.
- If you have a can of compressed air available, blow air through Doxie's slot.
- Start a regular cleaning cycle, then insert the cleaning sheet at a 90-degree angle (short edge inserted first).
- Push Doxie’s heart button to start automatic cleaning.
- During the cleaning cycle, disconnect Doxie, then rub the cleaning sheet side to side along the slot.
- Manually pull the cleaning sheet out.
- After cleaning, recalibrate Doxie.
Super Advanced Cleaning
For extremely stubborn dust and dirt, try a "wet" cleaning cycle:
- Lightly moisten the middle portion of Doxie's cleaning sheet with isopropyl alcohol (rubbing alcohol). A spray bottle works well for this -- you just want to moisten the cleaning sheet. It should not be dripping wet.
- Clean Doxie with the moistened cleaning sheet. Select Doxie > Clean Doxie from the menu bar, then follow the on-screen prompts.
- Let Doxie dry for approximately 30 minutes to an hour after a wet cleaning cycle.
- After drying, recalibrate Doxie.
In our experience, getting past all 3 cleaning processes should definitely resolve dirt on your image sensor. However, if there are still lines and other issues with your scans after trying these cleaning steps, contact Doxie Customer Care and send a sample scan – we'd be happy to take a look for you.